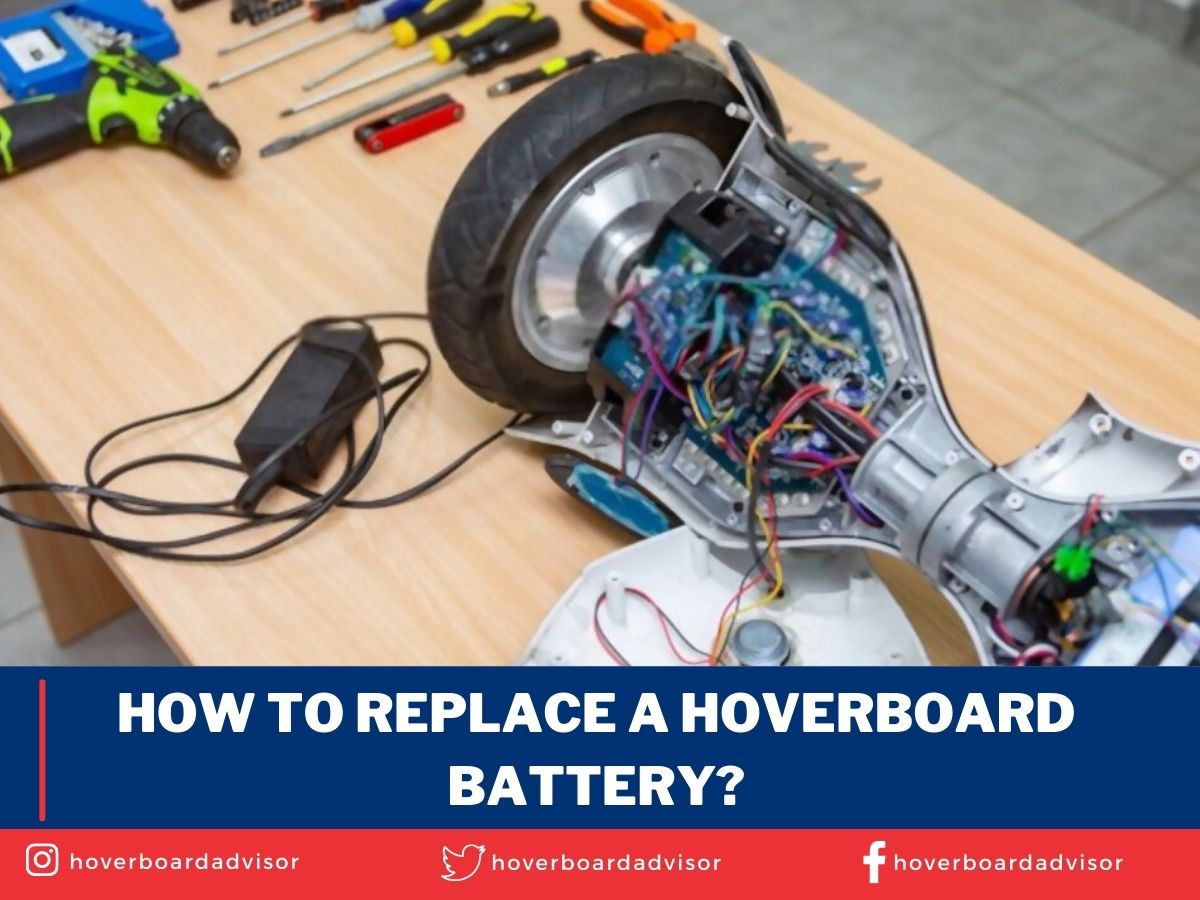
Sometimes, you turn your hoverboard ON for an urgent ride, but it does not work even if it is fully charged. There is the possibility that its battery is not functional, and you need to replace it as soon as possible to make your urgent ride possible. For this, you should know the correct method to replace the battery.
You can replace a hoverboard battery in 5 easy steps. First, find out the battery side of the hoverboard and open up the screws on that side with a screwdriver. Remove the old battery carefully and plug in the new battery after connecting it with the motor. In the end, tighten the screws back.
In this article, you will learn the complete method of removing the non-functional battery and replacing the new battery to make your hoverboard functional. In addition, you will learn how you would know if your hoverboard needs a replacement battery.
Replacement Of Hoverboard Battery
The battery is an essential part of the hoverboard. With a bit of damage to the battery, you can not take a ride on your hoverboard. Each hoverboard comes with the original built-in battery. For a new person, it is difficult to know whether the battery needs replacement or a charger is out of order.
Once the battery gets damaged/ broken or expired for any reason, it would be rather tricky for you to repair it. You need to get a good quality new replacement battery with an authentic and reliable warranty.
Also Read: Hoverboard Battery Life: How Long Does a Hoverboard’s Battery Last?
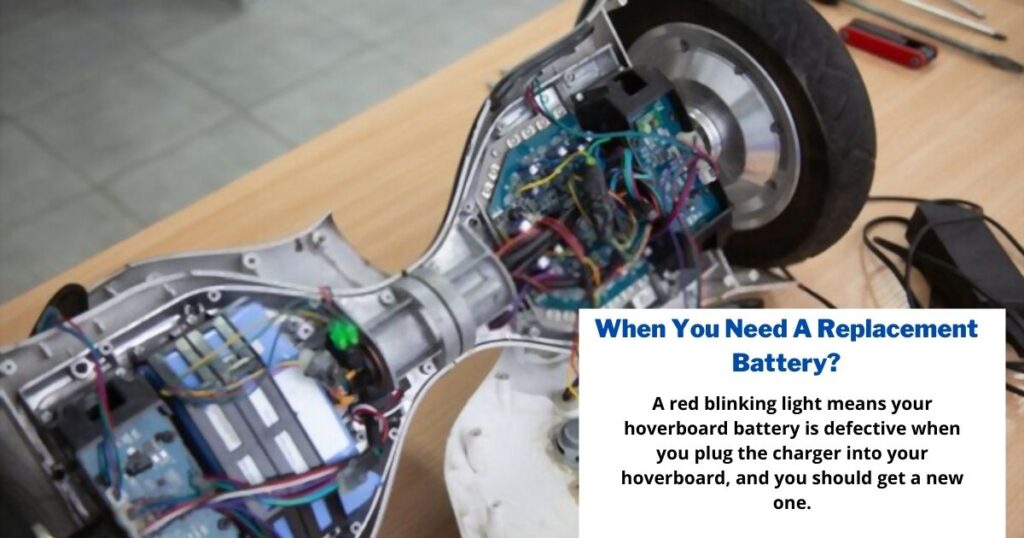
How To Check If Your Hoverboard Needs A Replacement Battery?
To check whether your hoverboard needs a replacement battery is very tricky. You need to know the right circumstances when your hoverboard requires a new battery. When the hoverboard stops working suddenly, it might be possible that your hoverboard’s battery is faulty, the charger is not working, or the plug on your wall is not functional.
Suppose you buy a replacement battery and install it on the hoverboard. Here you observe that your hoverboard is still not working. Then after some time, you realize that the charger of your hoverboard has some issue. So, to avoid the extra expenses and wastage of time, check the actual reasons.
Steps involved to check whether your hoverboard needs a replacement battery are:
- Plug the hoverboard charger into the wall plug. It will show the green light.
- Now, insert the charger into the hoverboard. Be careful while adjusting the three prongs of the charger into the charging pins of the hoverboard.
- The charger turns on the red light if your hoverboard’s battery is working correctly.
- The red light on the charger indicates that your hoverboard is charging.
- Suppose the light on the charger does not turn red but remains green in color. It means the hoverboard is fully charged or is not functional.
- To check whether your hoverboard’s battery is charged or empty, you need to unplug the charger from the hoverboard. Then turn on the hoverboard. If the hoverboard turns on, its battery is charged.
- If your hoverboard turns on and shows a red blinking light, it means your hoverboard battery is defective, and you need to get a new replacement battery.
5 Easy Steps To Replace A Hoverboard Battery
Once you get the new replacement battery for your hoverboard, the next step is to install it properly into the hoverboard. Let’s discuss the five easy steps to install a new replacement battery.
Step-1
Find the right side of the hoverboard that contains a battery. You can check it by holding it in your hands. The battery lies on the heavier side of the hoverboard.
The other reliable way is to check the charger side where you plug in the charger. All hoverboards come with the same feature that the battery lies on the opposite side of the charging port.
Step-2
Focus on the battery side of the hoverboard and open up the screws with the help of a screwdriver. You can also use the power drill to get the screws off. Remove the lid and keep the screws with you.
You can see the battery cage made of durable plastic that protects the battery cells inside it. Open the screws from the battery cage. Inside it, the lithium-ion battery cells are covered with a shrink wrap. This battery is connected to the motor.
Step-3
Remove the old battery from the hoverboard by detaching the clamps and leaving the wires with green color covering because they connect the motherboard and the motor. Undo the clamps carefully as the cables are held together with the help of these clamps.
Step-4
The next step is to install the replacement battery. Place the battery cage over the new replacement battery. Now, install it in the right place inside the hoverboard by tightly holding the battery cage. Once the replacement battery is fixed, connect all the clamps again. Tight the screw on the battery cage and check the attachment.
Step-5
In the end, close the outer covering of the hoverboard and tighten the seven screws with a screwdriver. Now check the battery by plugging in the hoverboard charger. If it turns red, it means the battery is getting charged.
Also Read: How To Make Your Hoverboard Battery Last Longer?
Precautions
You can fix the new replacement battery in five easy steps, but be very careful. Follow the following precautions:
- Do not tighten the screws too much, as the plastic of the battery cage can break.
- Undo the clamps with the right cables.
- Always check whether your hoverboard needs a replacement battery before buying a new replacement battery.
- Fix the replacement battery that must be reliable and compatible with your hoverboard.
Conclusion
If your hoverboard needs a replacement battery, you need to get a suitable battery first. Then open up the battery cage and take off the old battery.
Fix the new battery on the right side of the hoverboard. You can open the screws with a screwdriver and detach the clamps of different cables.
Install the new battery and connect it with the motor. It is an easy way to fix a new battery in your hoverboard, but you need to be very careful while tightening the screws on the battery cage to save it from any breakage.